In the world of fashion and self-expression, traditional Islamic clothing plays a significant role. The abaya, a long, loose coat worn by women, represents elegance, modesty and style. However, many women prefer to make their own clothing to add a personal touch and ensure a perfect fit. In this step-by-step guide, I will show you how to sew your own abaya like a pro.
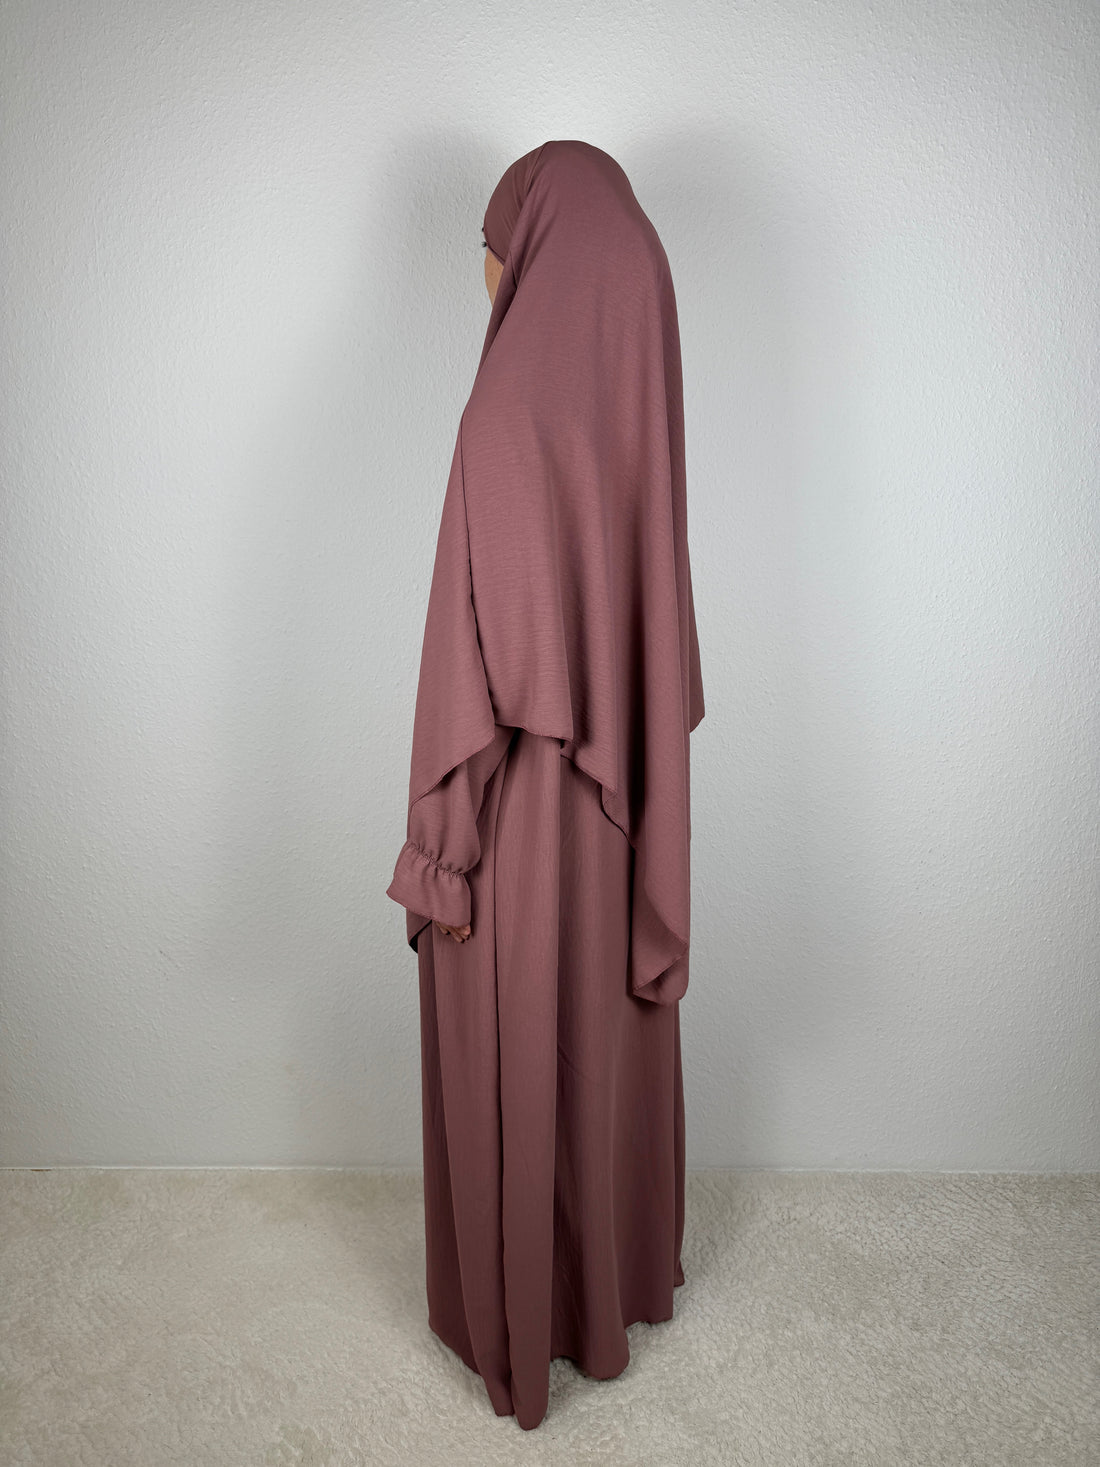
However, before we start sewing, let's take a quick look at the basics. An abaya is a long coat that usually reaches the floor and falls loosely around the body. It is often worn over regular clothing and comes in a variety of styles and designs. Some abayas are simple and plain, while others are embellished with embroidery, beads, or other embellishments. A khimar is a headscarf, often worn with an abaya, that covers the head and upper body.
Now that we know the basics, let's start sewing. Here is a list of the materials you will need:
1. Fabric of your choice (a light, flowing fabric such as cotton, chiffon or crepe is recommended)
2. Sewing machine or needle and thread
3. Scissors
4. Tape measure
5. Chalk or fabric marker
6. Clasp (optional, depending on design preference)
Step 1: Take measurements
Before you start cutting and sewing, it is important to take the correct measurements. Measure your shoulder width, the length of your arm, your back length and the desired length of your abaya. Don't forget to measure the width too to ensure the abaya falls loosely around your body.
Step 2: Cut the fabric
Use your measurements to cut the fabric accordingly. Remember to allow extra space for seams and hems. Also cut the sleeves according to the length you measured.
Step 3: Sew the shoulder seams
Place the fabric pieces right sides together and sew the shoulder seams together. Use a straight seam and secure the ends well.
Step 4: Sew in the sleeves
Sew the sleeves in along the sleeve openings. Make sure to distribute the sleeves evenly so that they fall well when worn.
Step 5: Sew the side seams
Sew the side seams of the abaya together. Try on the abaya to ensure it fits well and make adjustments if necessary.
Step 6: Make the hems
Finish the hems of the abaya and sleeves using a hem stitch or other desired technique. Make sure all seams are neatly hemmed for a clean finish.
Step 7: Add embellishments as desired
If you wish, you can now add embellishments to your abaya. This could include embroidery, beadwork, applique or other decorations to add a personal touch to your abaya.
Step 8: Add a Clasp (Optional)
Depending on your design preference, you can add a clasp to your abaya. This could be a zipper, buttons, hooks and eyes, or another type of fastener.
Congratulations! You have successfully sewn your own abaya. Now you can proudly wear your homemade creation and express yourself in your own style.
Of course, if you don't have the time or skills to sew your own abaya, you can also purchase a ready-made abaya. There are many online stores that offer a variety of abayas and khimars in different styles and designs. Whether you choose to sew or buy an abaya, the most important thing is that you feel comfortable and confident in it.
So, what are you waiting for? Get ready to sew your own abaya and show off your personal style!